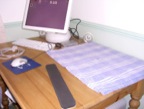
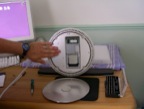
Prepare your working area.
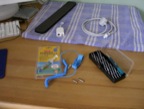
Tools of the job. Screwdriver set, Thermal Paste, Blanket, Anti-static Wrist strap.
Ready to go.
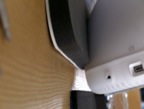
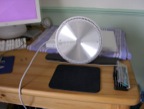
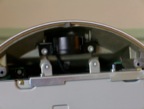
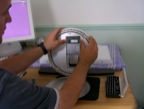
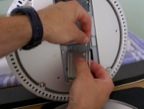
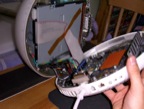
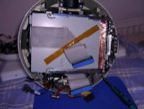
Support the upper dome seperately to the base.

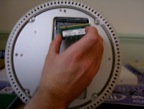
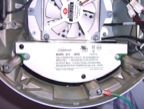
Four screws hold on the base. The base has the iMac's serial number and original configuration.
Anti static wrist-band connected. Touch the base reduce the risk of damage due to static build up.
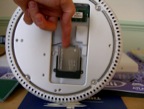
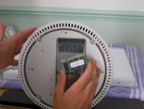
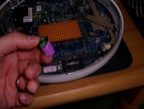
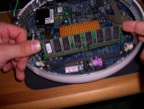
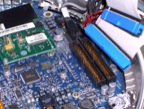
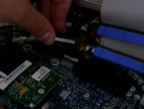
Gentle unclip the SODIMM.
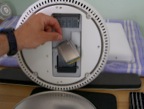
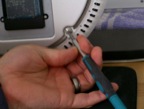
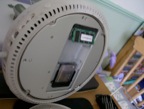
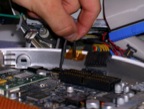
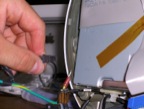
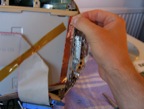
Pull the clear plastic tab to remove the Airport (Extreme) card.
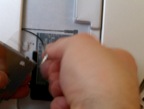
Disconnecting the Airport aerial
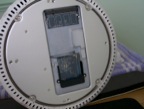
Accessing the iMac G4 'Factory' compenents.
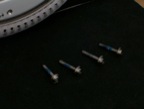
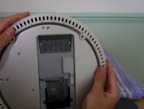
Four screws (T15) are all that need to be removed to get at the 'Factory only' components.
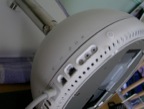
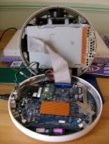
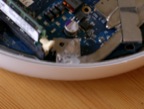
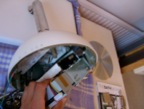
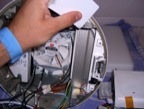
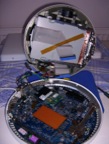
Cracking the case. Take your time as the cables in there are short. You don't want to rush and damage them.
Cracking the dome open
Carefully seperate the base from the dome.
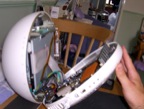
Carefully lower the base down
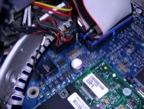
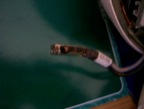
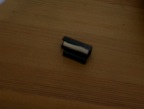
3.6volt ½ AA size - PRAM Battery (abnout $5/£6)
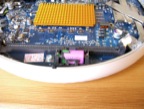
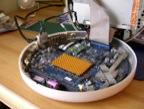
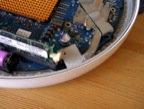
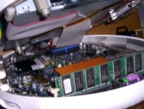
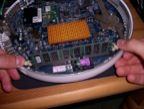
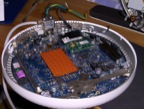
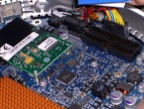
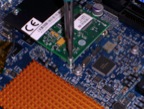
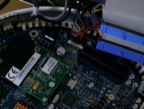
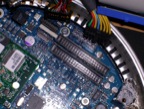
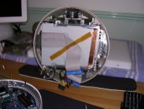
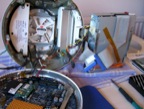
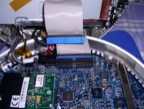
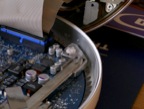
Thermal Pipes across top of logic board take heat away from the G4 processor
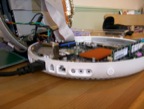
Open view
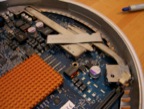
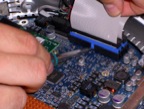
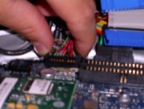
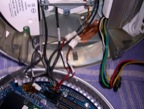
Close-in open view
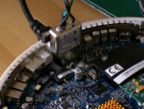
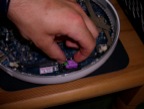
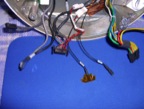
Close-in view of connectors
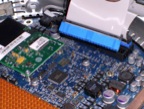
Power/electrical connector
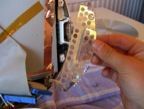
Internal mono speaker for when you don't have the Apple Pro Speakers or other external audio device connected.
All connectors are closeby
Right-hand port view
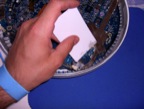
Apply a petit pois size blob to the pillar in the base.
CIMG2101.jpg
CIMG2102.jpg
CIMG2103.jpg
CIMG2113.jpg
Line the Airport (Extreme) connector up and then firmly push it downwards. You will feel a click.
CIMG2484.jpg
CIMG2485.jpg
CIMG2487.jpg
CIMG2493.jpg
CIMG2494.jpg
Replacing the PRAM Battery
Factory DIMM
CIMG2503.jpg
CIMG2506.jpg
CIMG2508.jpg
CIMG2509.jpg
CIMG2546.jpg
CIMG2512.jpg
CIMG2513.jpg
CIMG2514.jpg
CIMG2515.jpg
CIMG2516.jpg
CIMG2521.jpg
CIMG2523.jpg
CIMG2524.jpg
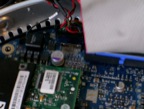
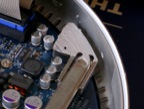
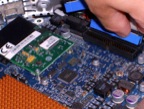
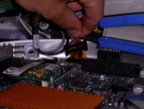
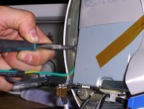
TDMS Video connector // VERY FRAGILE //
TDMS Connector cover. There are two sticky pads holding the cover down. An AASP didn't replace these on my iMac following work so I guess they aren't too essential.
CIMG2522.jpg
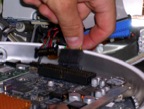
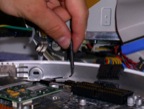
Close-in view of connectors.
Gently loosen the audio connector.
CIMG2536.jpg
CIMG2537.jpg
CIMG2539.jpg
CIMG2540.jpg
CIMG2541.jpg
CIMG2543.jpg
CIMG2545.jpg
CIMG2547.jpg
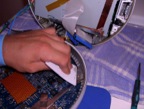
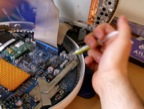
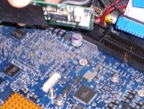
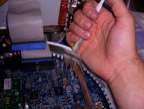
Removing the old thermal paste.
Scrape the old thermal paste off the top and bottom pillars.
A small metallic strip holds the shielding grill on to the Optical Drive.
Shielding grill from Optical Drive.
CIMG2559.jpg
CIMG2561.jpg

CIMG2563.jpg
CIMG2564.jpg
Remove the old thermal paste off the top and bottom pillars.
CIMG2568.jpg
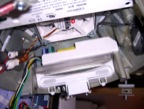
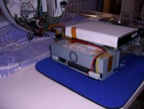
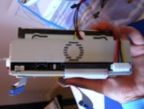
Power Supply Unit and internal view of the optical drive door mechanism.
Half of the Power Supply Unit.
All the internal cables that connect the iMac top to the base.
ATA/ATAPI drives

Hard drive
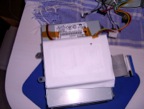
Hard Drive covered in a sticky white plastic wrapper.
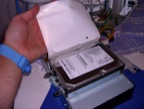
The white wrapper probably just keeps dust off the drive as the hard drive is directly beneath the cooling fan.
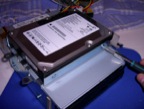
700/800MHz have 5,400rpm ATA66 drives, 1.0/1.25GHz have 7,200rpm ATA100 drives.
Rear of the
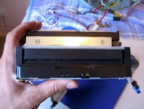
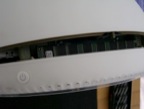
The optical drives tend to use a thinner bezel.
The iMac G4 is the only iMac to use a standard 5.25" Desktop-size optical drive. Replacements are <$40/£25.
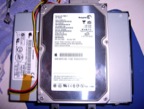
Under the white wrapper is a bog-standard 3.5" IDE (ATA66/100) hard drive.
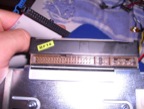
Parallel IDE/ATA/ATAPI connectors
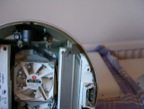
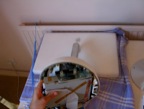
The cooling fan is located at the highest point centrally in the iMac's base.
IDE cable for Optical drive is taped to the base of the Optical drive. This will probably tear off when you open the case.
Open view
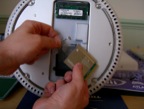
Use the syringe to apply small amount of Thermal Paste.
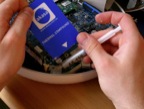
Apply small amount of thermal paste to the pillar on the base. Spread it slightly then allow the compression of the two pillars to do the rest.
Blob of Thermal Paste on pillar.
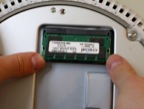
Line up the tab, then push the SODIMM upwards until the notches on the side line up. Then push the SODIMM towards the iMac base. Don't touch the chips. Wash you hands and onlyh touch the edges of the module.